Guest User
Is Your iPhone Verifying Update Sometimes
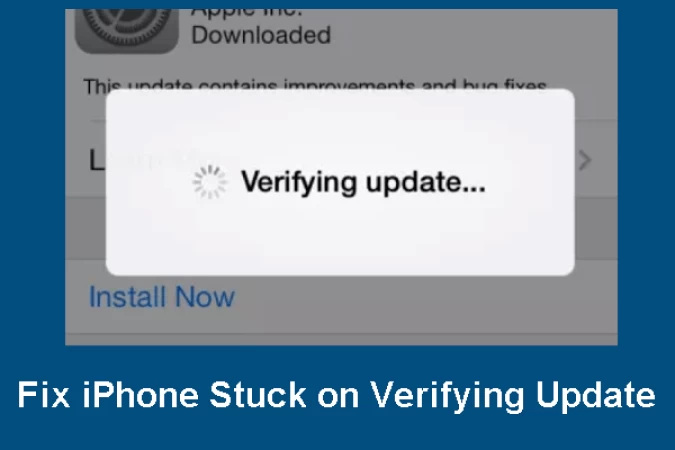
I guess most users would like to update their iPhone to the latest iOS version as it will offer more attractive features and can fix some existing bugs. To install the latest version of iOS on your iPhone, you need to connect to the internet and then go to Settings >General>Software Update. Then, the iPhone will verify the latest iOS version.
If everything is OK, just click Install Now to install it. However, the case that your iPhone stuck on verifying update forever may happen occasionally. How to deal with this issue?

In this article, we summarize some ways that are proved to be useful to solve the issue iPhone stuck on verifying update issue. If you are suffering this problem at the moment, please read the following paragraphs to help you out.
6 Methods to Solve iPhone Stuck on Verifying Update
Random firmware crash is a main reason for iPhone device stopping working or getting stuck suddenly. In this situation, you may try restarting iPhone device.
For iPhone 6 or earlier iPhone: Press Power and Home buttons at the same time and release them when you see Apple logo.
For iPhone 7/7 plus/8 plus/9: Press Powerand Volume down buttons at the same time until Apple logo appears.
For iPhone X and later iPhone: Press and release Volume up button. Then press and release Volume down button. Press Power/Side button when you see Apple logo.
Then, you need to wait a moment until your iPhone boots successfully and connect to Wi-Fi. Next, go to Settings>General>Software Update to check whether the iOS can be updated smoothly.
If it is still verifying update forever, please move on to the next solution.
Improper network configurations on iPhone can also lead to the iPhone verifying update forever issue. So, resetting the network settings on your iPhone is another solution.
Please follow these steps to reset network settings: enter Settings > General> Reset > click Reset Network Settings > clickReset Network Settings.
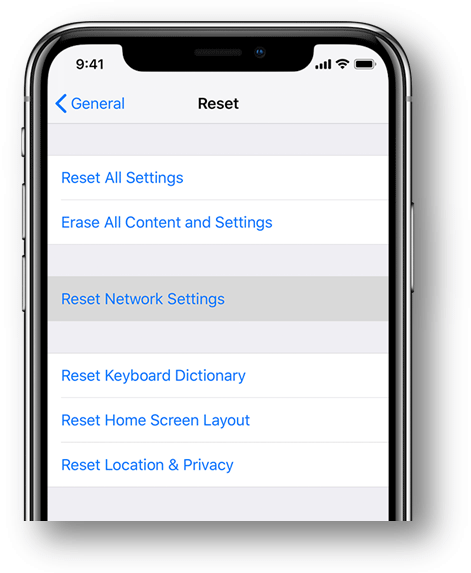
During the resetting process, the incorrect network settings can be deleted and the network settings will be restored to the original status. Also, the server settings and other relevant information will be restored to the default configuration.
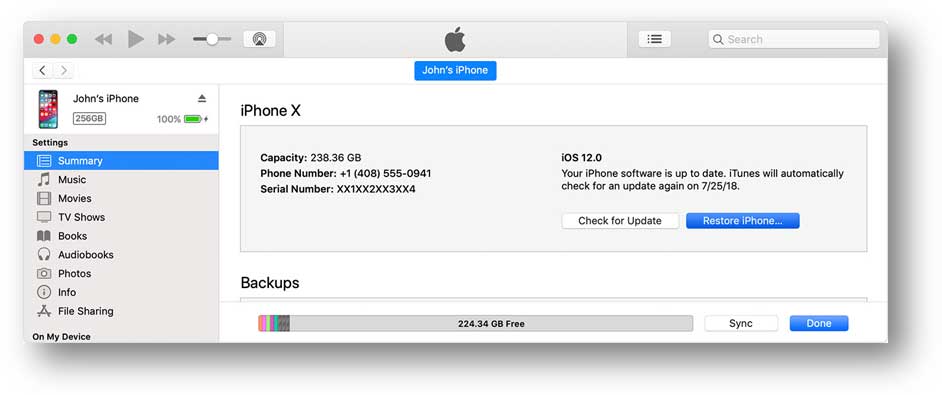
You can try to update your iOS version: updating your device using iTunes.
Here is the guide:
1. Install the latest iTunes version on your compter.
2. Connect iPhone to computer. Make the device trust the computer if it’s the first time to connect your iPhone to computer.
3. Run iTunes and choose your iPhone.
4. Click Summary > Check for Update > Download and Update. Enter the password for iPhone if required.
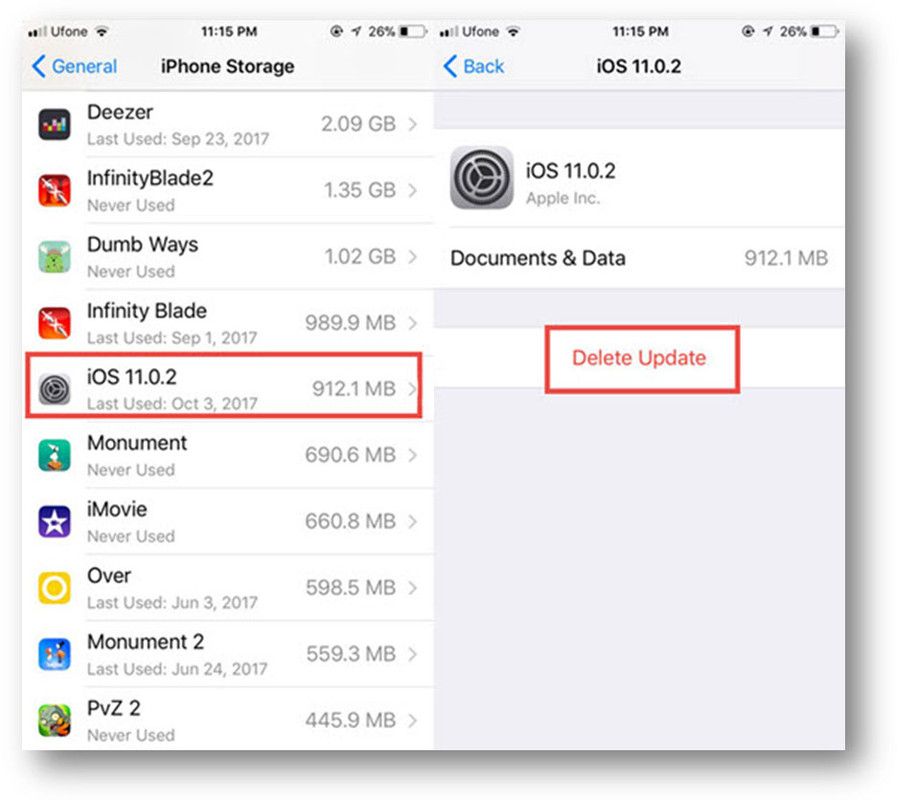
If some iOS update files have already been downloaded but not complete, the iOS update could be faulty, then iPhone stuck on verifying update will occur. Therefore, you can try deleting the iOS update files from iPhone to solve the problem.
Just go to Settings > General > iPhone Storage > find the iOS update > delete it by tapping Delete Update. After that, you can go restart iPhone and update the iOS version again.
If this solution is still not effective, keep reading the next.
iOS download process will be influenced when the Restrictions feature on your iPhone is enabled. Thus, you may come across the iPhone stuck on verifying update case. Disabling Restrictions on your iPhone can be another choice. via your iPhone settings to check whether the issue can be solved.
There are different ways to access this feature depending on the iOS version you are using.
For iOS 11 or earlier versions: go to Settings > General > Restrictions. Choose Restrictions to enter and disable it. Type the password twice to confirm the changes.
For iOS 12 and later versions: go to Settings > Screen Time > Content & Privacy Restrictions. Then, enter password for iPhone and exit Content & Privacy Restrictions. Restart iPhone and update iOS until theRestrictions feature is disabled.
If you choose to restore iPhone to factory settings, all your current files and settings on the device will lose. So, you need to back up the important files with iCloud or iTunes.
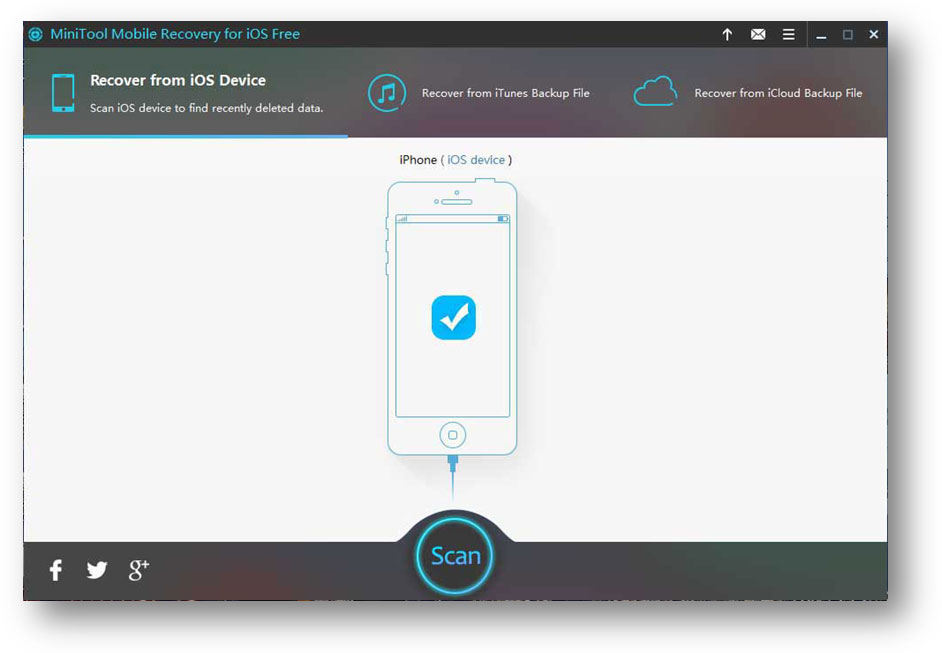
Alternatively, a piece of third-party software is a candidate. MiniTool Mobile Recovery for iOS is just such an iPhone backup program, with which you can back up the file what you need.
You need to download and install the program on computer. When everything is prepared, please follow this guide to recover data from iPhone to your computer:
1. Connect iPhone to the computer with a USB cable.
2. Launch the software to detect and scan your iPhone device
3. When the scanning process comes to an end, browse the scan results to find what you need.
4. After picking up the desired items, just click Recover button to specify a storage destination on computer to keep them.
After backing up your iPhone data, it’s time to restore your iPhone to factory settings. There are two options available.
Option 1: Restore the Device with iTunes

Option 2: Restore the Device Wirelessly
You can restore your iPhone wirelessly if you don’t have a computer at hand.
Please follow these steps: go to Settings > General > Reset > click Erase All Content and Settings. You need to type password for iPhone if asked.
After that, the iPhone device will be restored to factory settings automatically. You can continue to use it as a new one.
Bottom Line
Therefore, if you are encountering theiPhone stuck on verifying updateissue, don’t need to worry. Try these methods introduced in this post to solve the issue.
Please leave your comments in comment section if you have any questions or ideas about this issue. Hope you can solve this problem successfully.